
Exercise: Embrace the Imperfect Line (A Woodcut-Inspired Bleach Study)
I talk a lot about pulling the perfect line—clean edges, seamless shading, total control. But today, I want you to let all of that go.
This exercise is about doing the opposite. No pressure for perfection. No chasing smoothness. Just your brush, some bleach, and the freedom to explore how imperfection can be beautiful.
🎥 Scroll down to see the full process video and watch how this textured, rough-cut look comes to life.
The Inspiration: Woodcut Lines & Human Bodies
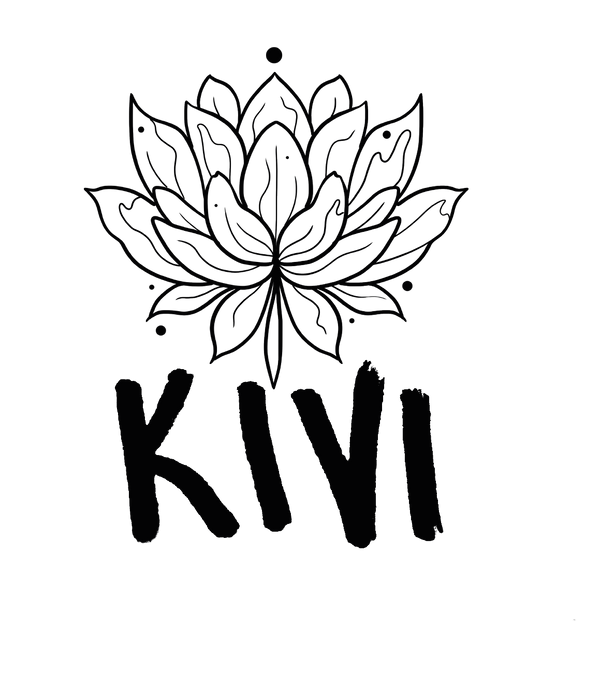
This design (see image below) was inspired by an illustration and tattoo style called woodcut—a style that uses thick, uneven, hand-carved lines. There’s something raw and human about it that I find really powerful.
A while ago, I heard a tattoo artist say something like:
“Why are we trying to make perfect, straight lines on a body that is curved, asymmetrical, and beautifully irregular? The art should reflect that same flow.”
That stuck with me. Maybe I’ve been too focused on making every artwork “correct.” But maybe art was never meant to be perfect—maybe it’s meant to feel alive.

What You’ll Need:
🧪 Bleach – I used undiluted bleach for the lines and 1:4 diluted bleach (1 part bleach to 4 parts water) for soft shading.
🖌 Brushes – Any flat synthetic brush will do.
🧤 Gloves + Mask – Always protect yourself when working with bleach.
🖼️ Black or other Dark Fabric – The high contrast really makes the raw lines pop.
Step 1: Break the Rules
Here’s your goal: Do not try to make a perfect line. Try all the "wrong" ways of painting instead:
- Pull a line fast—watch it break up and thin out.
- Pull a line slow—let it get bold.
- Re-pass the same line using a back-and-forth motion (like I always recommend)—just don’t reload the brush.
- Re-pass the line imperfectly—miss the first one by a few millimeters and create a double edge.
- When you lift your brush, leave a gap before starting again. Let those interruptions show.
🎨 IMPORTANT: Even though this is all about imperfection, technique still matters. Always dab off excess bleach from your brush before it touches the fabric. This helps prevent blowouts and damage—unless, of course, you’re intentionally going for that chaotic look. Be messy mindfully.
Step 2: Add Soft, Uneven Shading
Once your rough lines are down and dry, use the 1:4 diluted bleach to add soft patches of shade. No need to blend everything out—let some areas be blotchy, messy, even incomplete.
In my piece, I shaded around the flower and background to add some depth, but kept it loose and patchy. The unevenness makes the vintage, worn-in feeling.
Step 3: Trust the Process
You don’t need to be a master at drawing to make something beautiful. This is proof. I've had people tell me they’re intimidated by bleach painting because they “can’t draw like me.” And honestly, that breaks my heart a little.
You don’t need “perfect” art skills. You just need a willingness to try.
The most important part of art (and life) isn’t the result—it’s the process. If you love the process, you’ll love the result, because it’s full of your energy, your curiosity, your effort, your good memories.
So paint something that feels good to make.
💡 Try This:
- Practice on a scrap first. Try 5 lines using different pressure and speed—then layer over them with broken, imperfect strokes.
- Use the back of the brush or frayed bristles to add texture.
- Try using the "wrong" hand or turning the fabric so you approach the line at an unfamiliar angle.
- Let bleach splatter or skip—it all adds to the effect.
💬 I’d love to hear how this one felt. Was it freeing? Frustrating? Did you discover a favorite “wrong” technique? Let me know in the comments or tag me if you post it!
⚠️ Bleach Safety Reminder
Work in a ventilated space, wear gloves and a mask, rinse the fabric well, and neutralize after painting.
🎥 Watch my full process in the video below and give it a try. I promise—it doesn’t need to be clean to be beautiful.